Monday, November 21, 2005


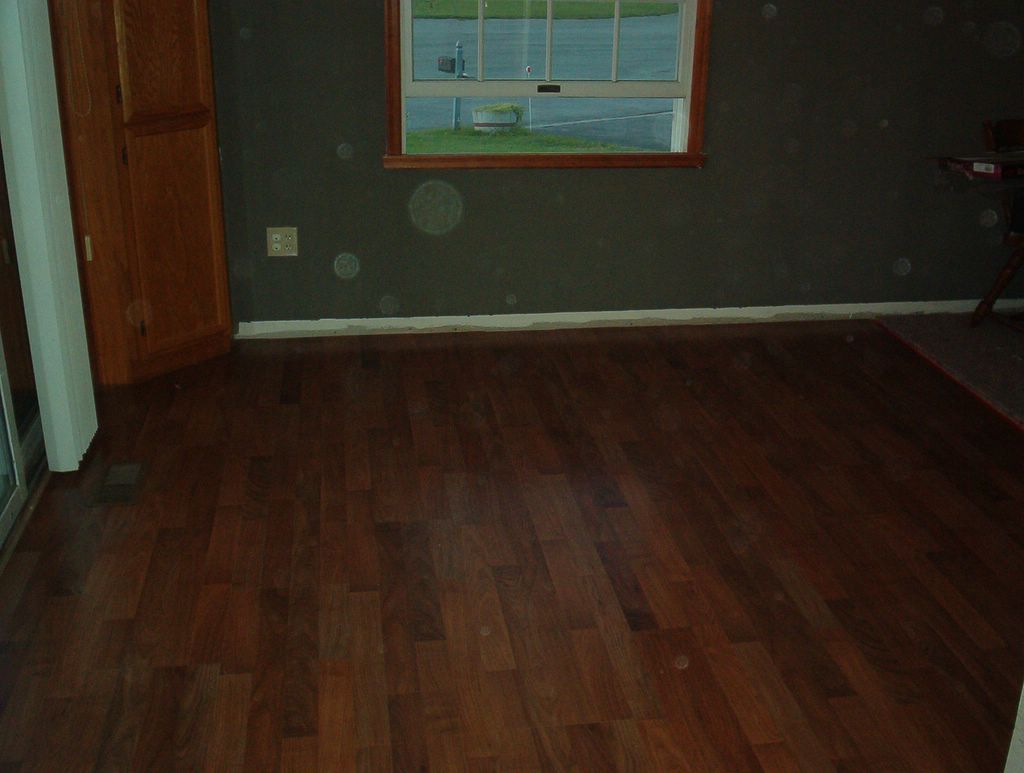
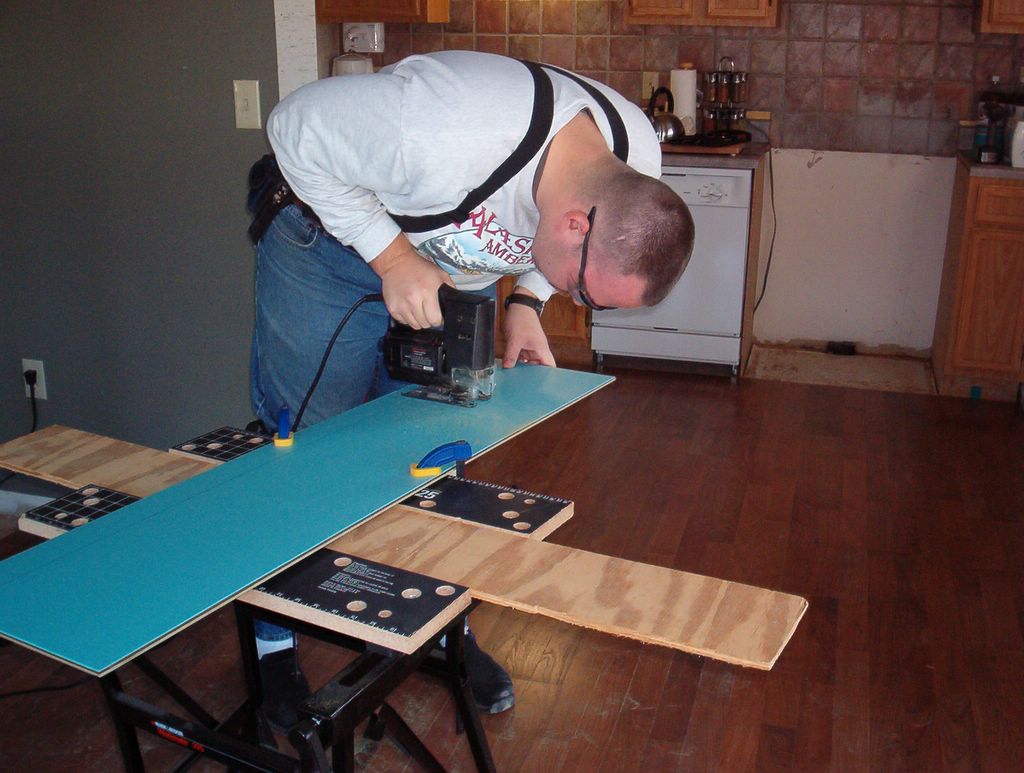
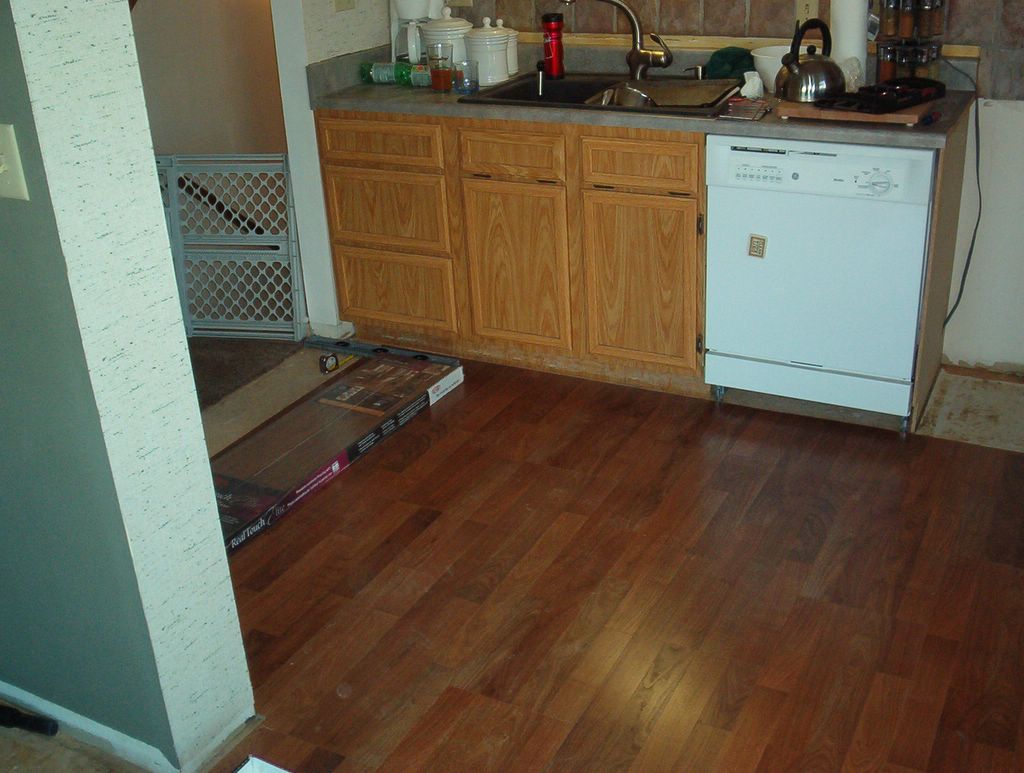
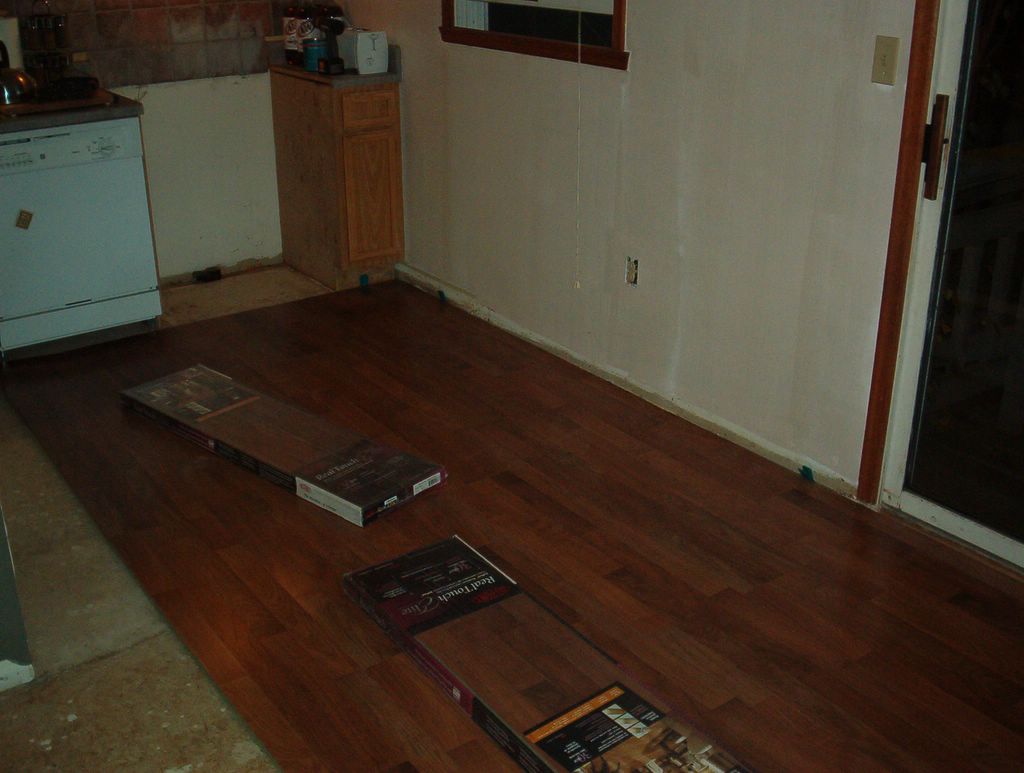
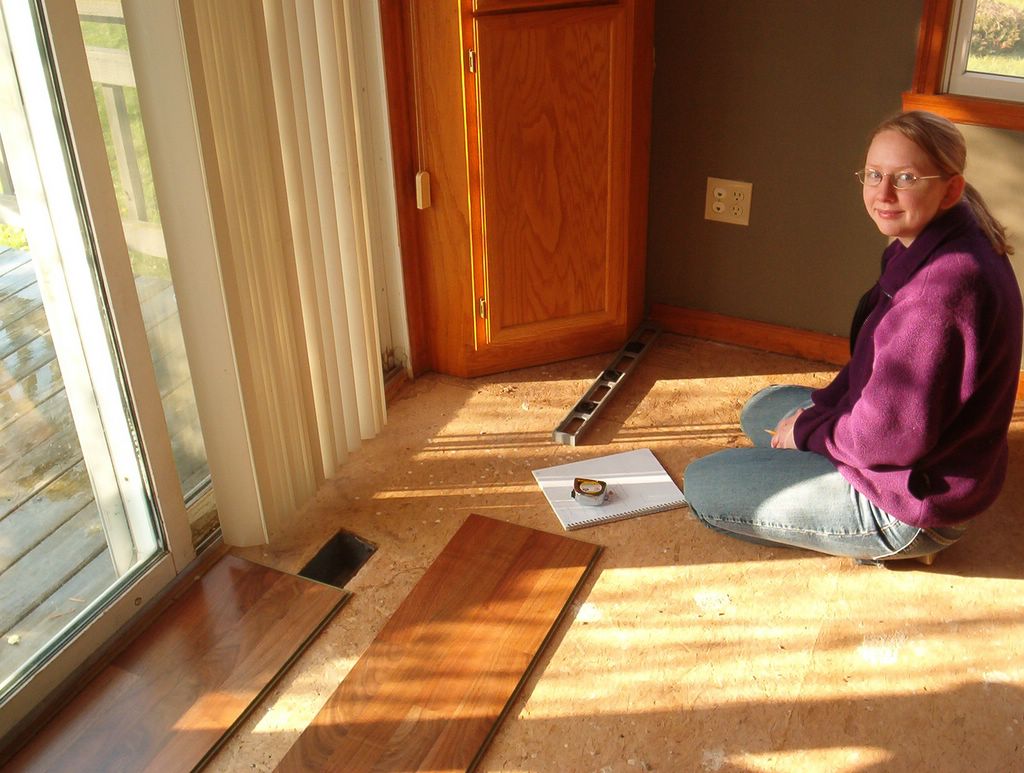
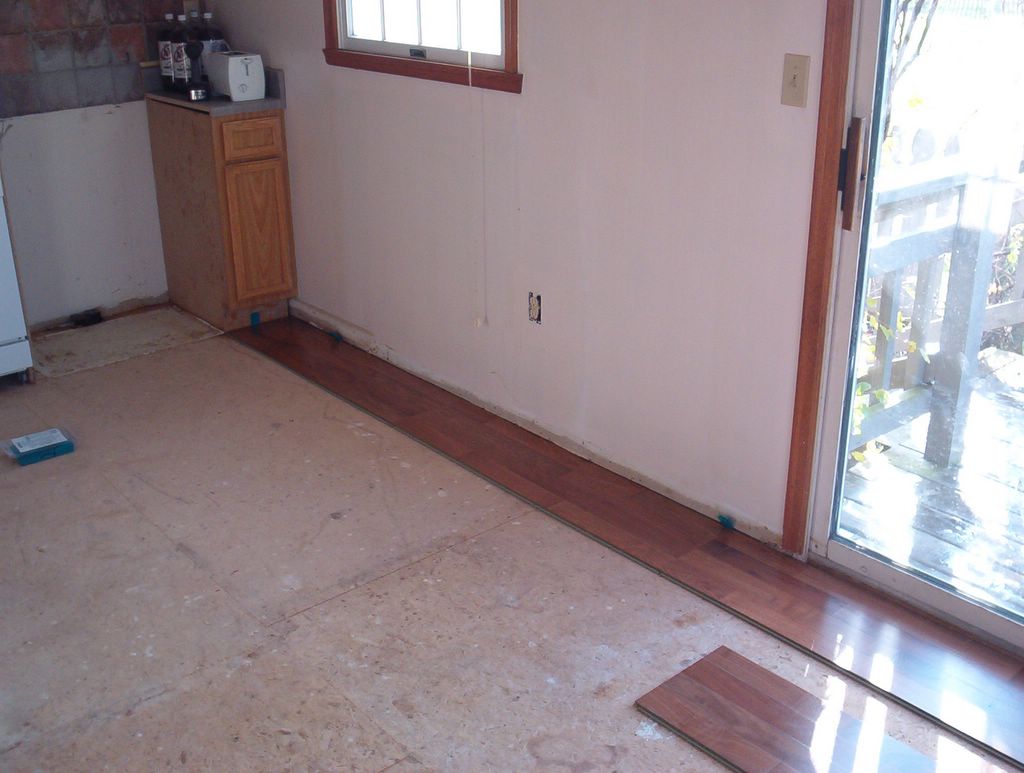
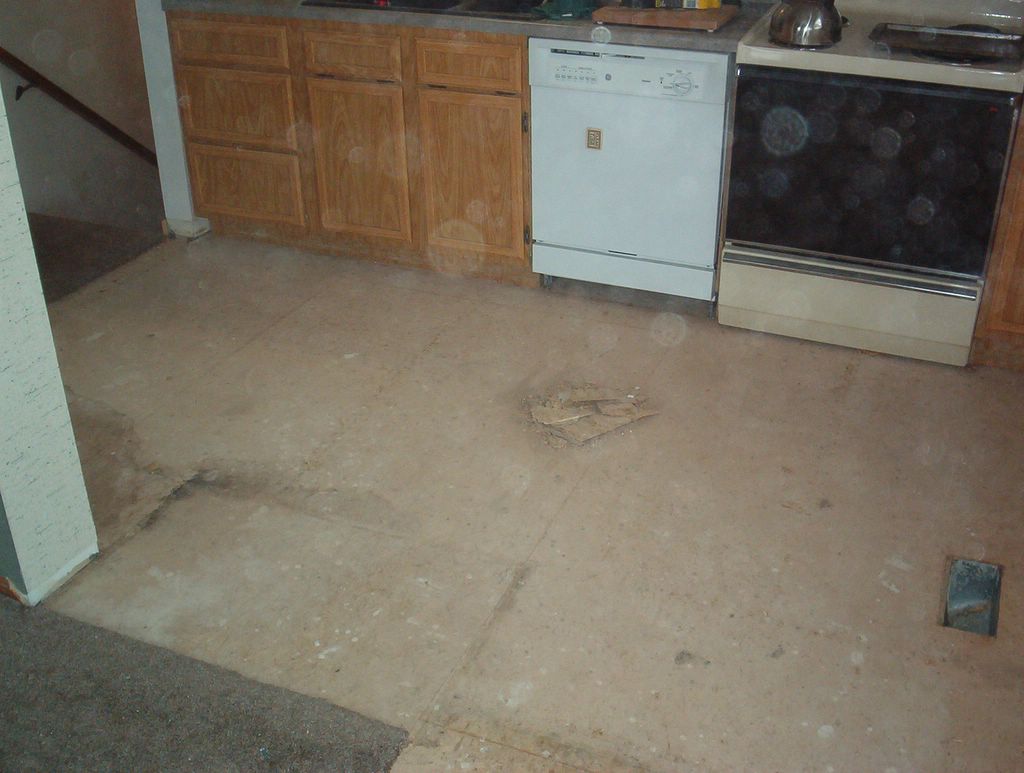
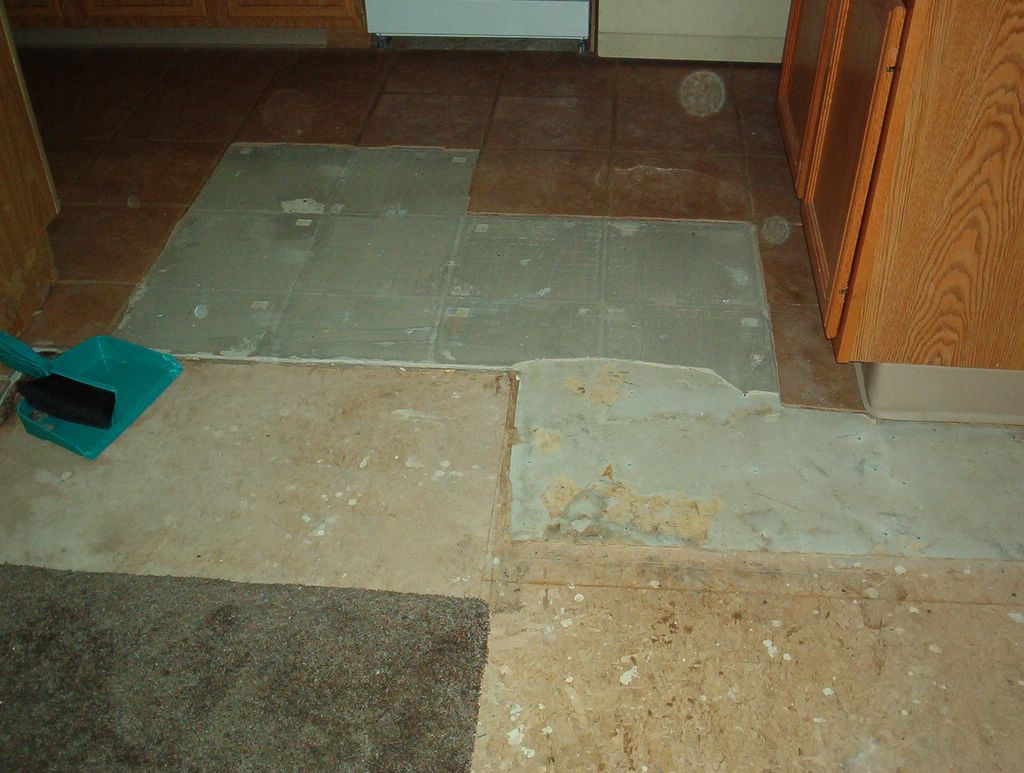
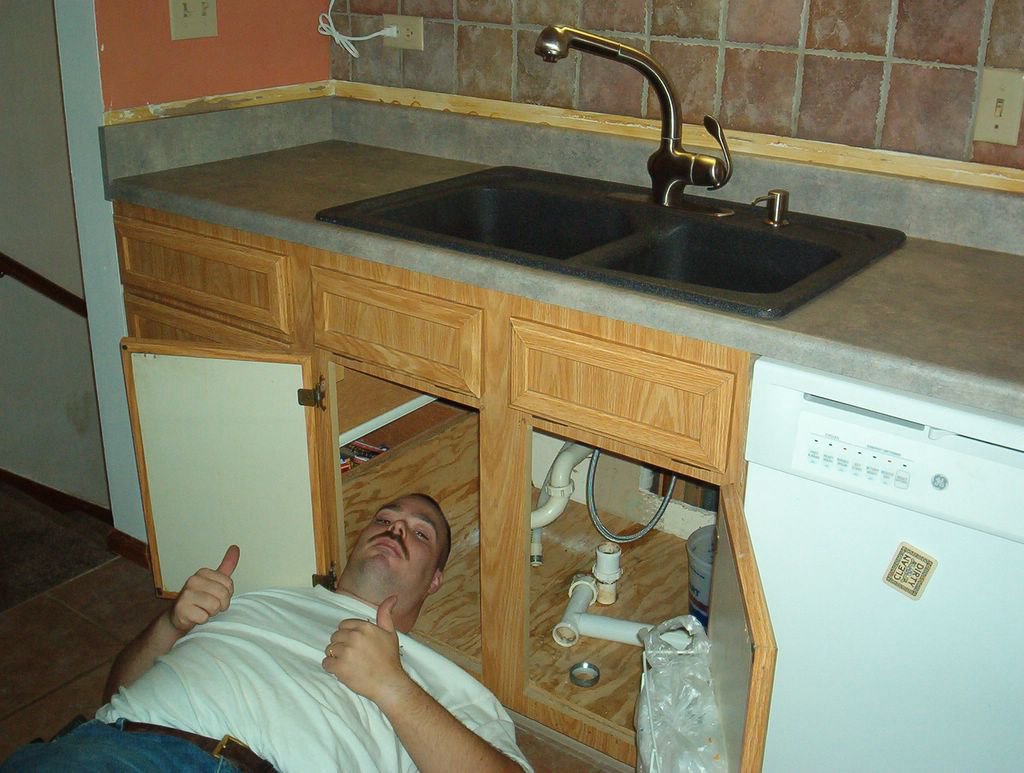
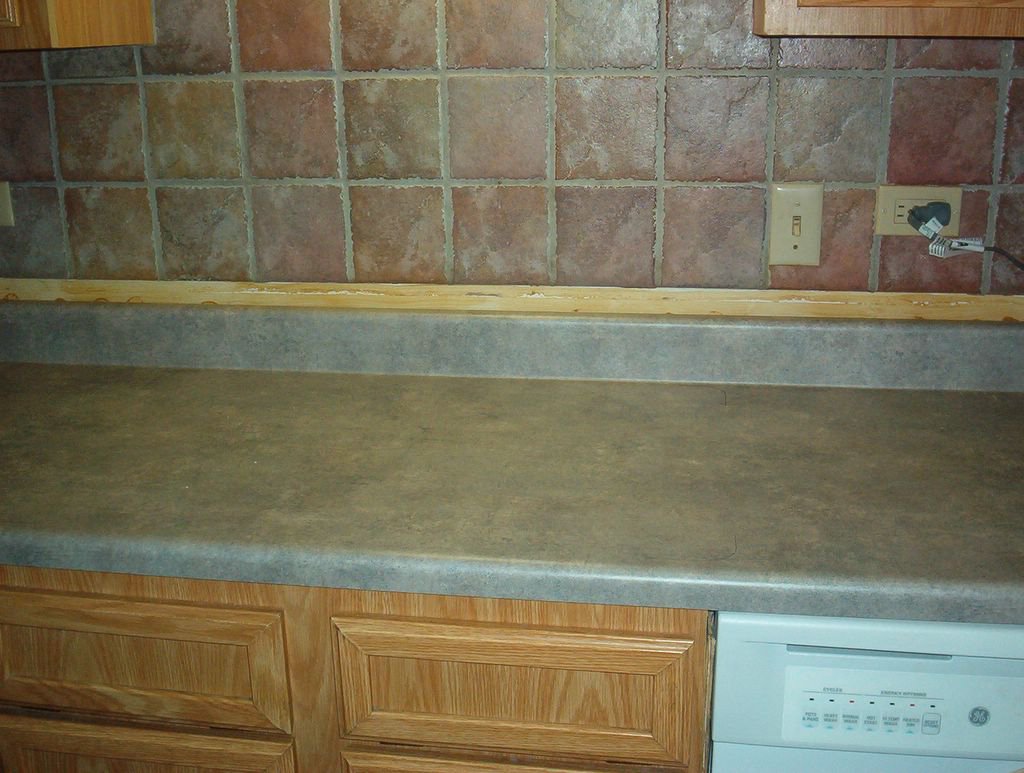
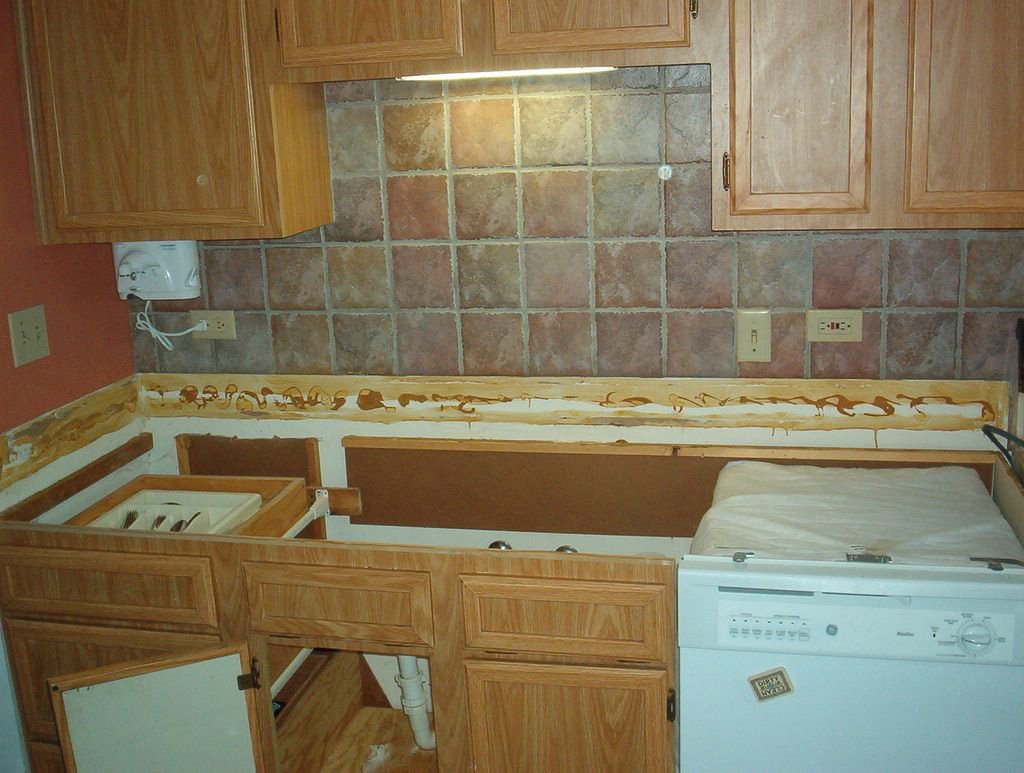
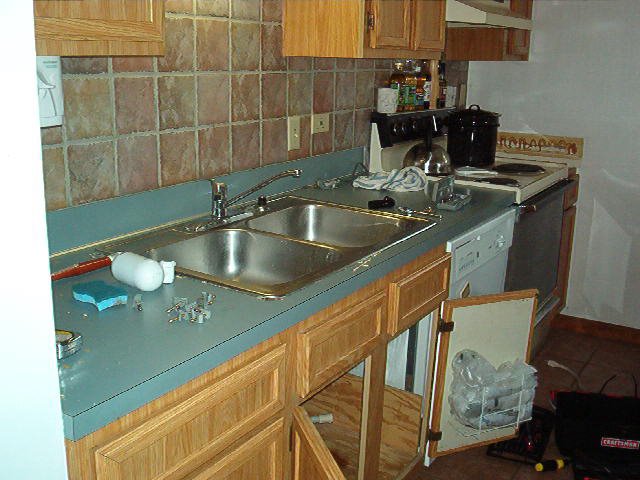
We finally got the kitchen put back together. Yay! Home-cooked meals again! We'll update this again when we're done with the baseboards and other finishing touches. We'll see some of you very soon! Thanks for reading this.


DONE! All the flooring is in. We still need to do the trim and the baseboards. That can wait; we're taking next weekend off!


Me cutting a piece of flooring with my MVT (Most Valuable Tool) for the project*, my Craftsman jigsaw. All cuts were done with the jigsaw, all freehand.

*MVT for the demolition portion was my Stanley wonderbar.


Day two. We left the small areas (and the long cuts) for the end.


Making progress. We used the unopened boxes to hold down the seams (it's a floating floor that doesn't require glue or nails).


The sunlight bringing out the beauty in Tracy. She did all the measurements and drew all the lines for me to cut, including figuring out the angle around that built-in cabinet.


The first row goes in...


The kitchen with the second layer of subfloor removed. Almost ready to start laying the new flooring!


The many layers of our floor. Subfloor, backerboard and clay tiles. All came up relatively easily with the wonderbar.


Duh-Duh-Duh-Demolition! Demolition! Demo-Demo-Demo-DEMOLITION!

Sunday, November 06, 2005


Annnnnnnd ACTION! Actual running water (it's really wet)! It took some tinkering, but the plumbing finally came together. We haven't decided what to put in that gap where the old backsplash was yet. We're leaning towards some nice molding or possibly more tile. We'll keep you posted.


The new sink, faucet and soap dispenser. It looks so pretty, do I really need to hook it up?


The new, unblemished countertop. If only we didn't need a sink...


While I worked, Tracy played with a cute puppy! Jus kidding, Tracy did a TON. This project couldn't have happened without her.


Demolition rocks! I hate the way they had the backsplash glued to the wall.


Before the devastation...